
From Berry Bush to Jam Jar
Thursday 30th of August 2019
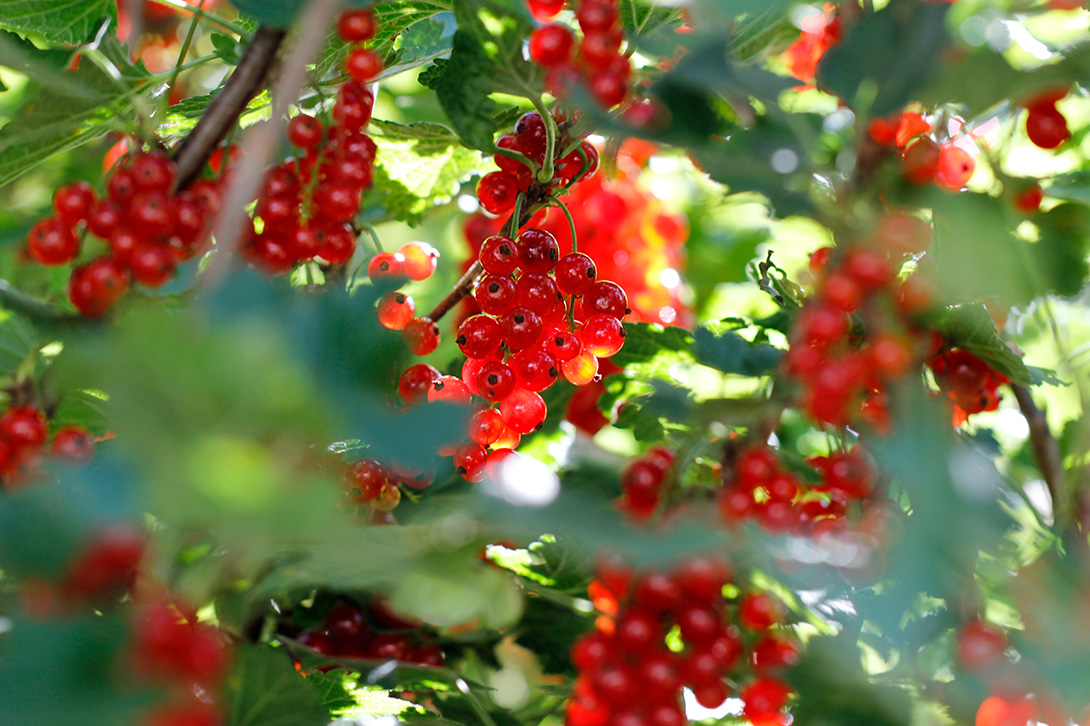
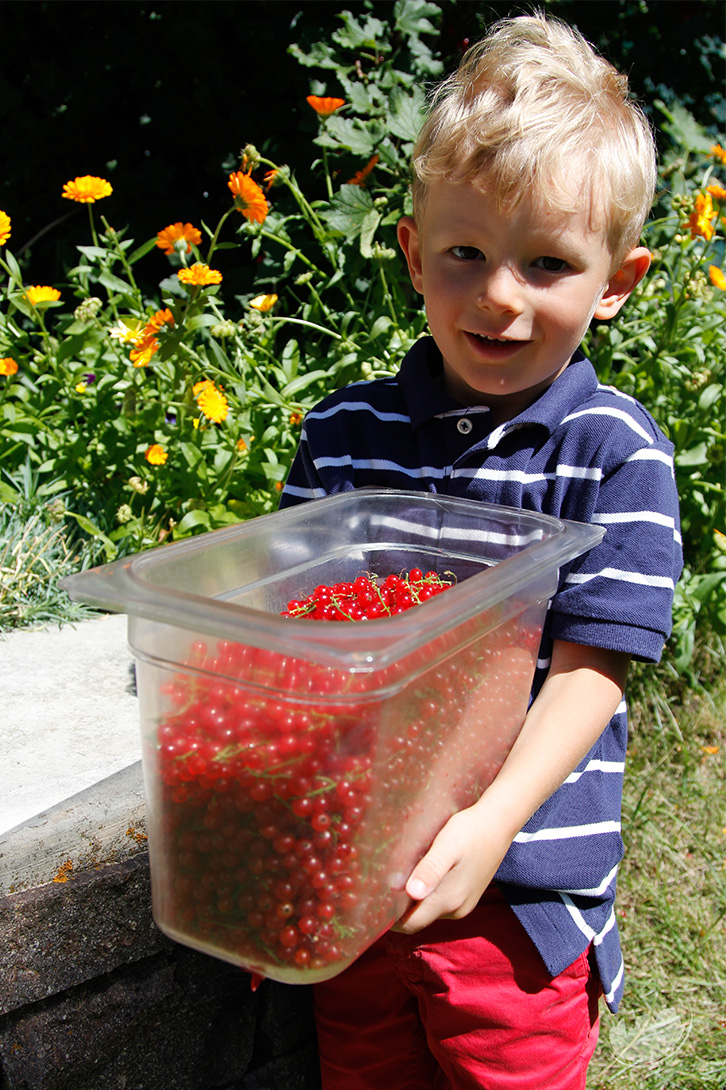
In our garden we like to grow what we can, taking into consideration the limitations of gardening within an Alpine climate. We have two large redcurrant bushes that are roughly 30 years old, they are a fully hardy plant and thrive even at a higher altitude.
This year has produced a particularly abundant crop; keeping a close eye on the berries we decided to pick them at their plumpest, glossiest and firmest. Common advice suggests to pick them while slightly under ripe when pectin levels are higher.
Their flavour is a little tart but they are still sweet enough to be eaten raw. They contain a very high vitamin C and vitamin B6 content which is beneficial for healthy skin and a healthy immune system.
Redcurrants can be used to make delicious jams, jellies and cordials, whilst also making really pretty garnishes for desserts and cocktails.
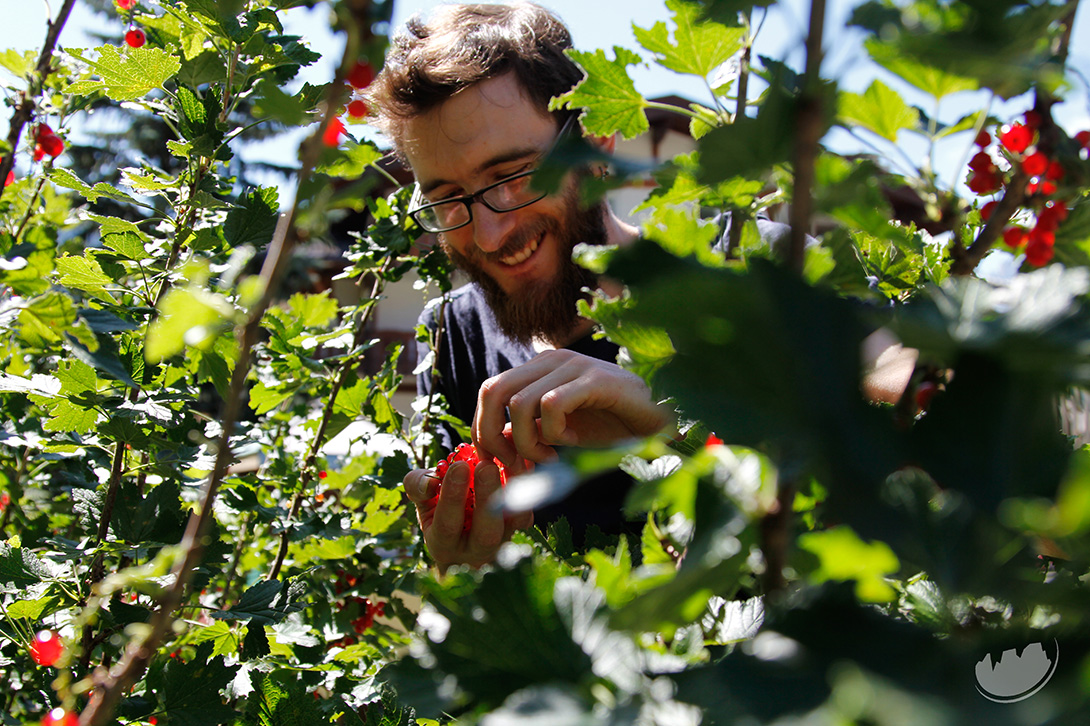
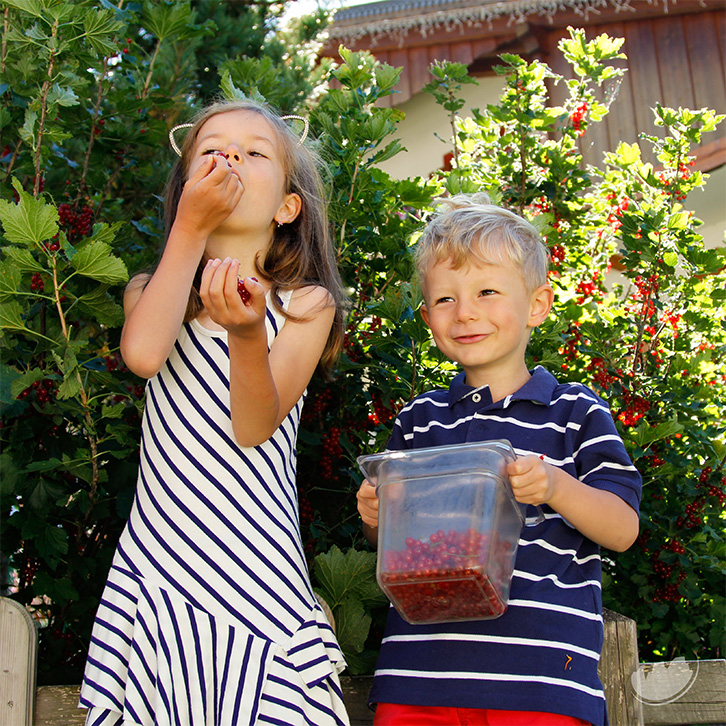
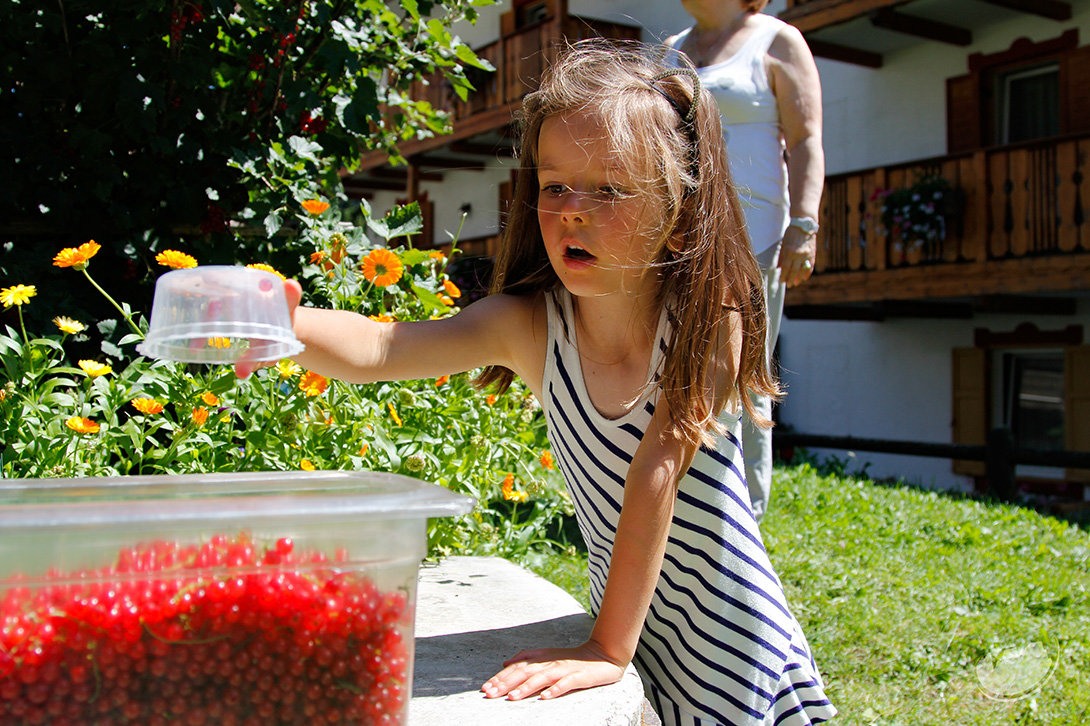
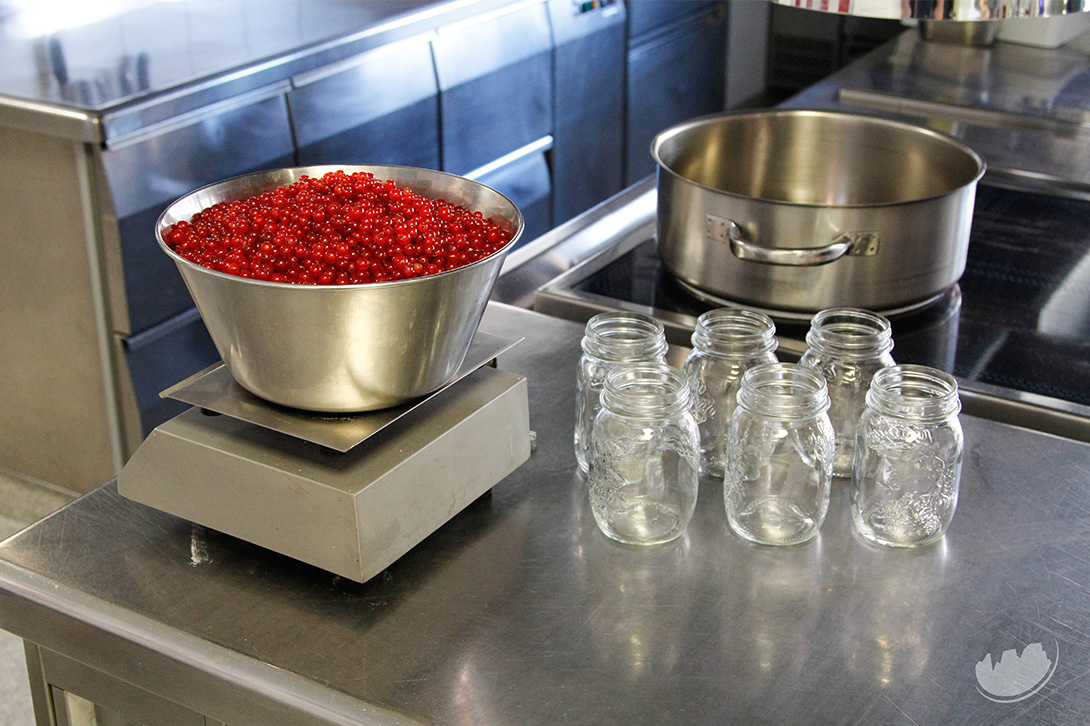
One late afternoon with everyone on board, we had picked, cleaned and cooked up 5.5 kilos of berries in two and a half hours.
Here is the recipe we like to follow:
Quick and Easy Redcurrant Jam Recipe
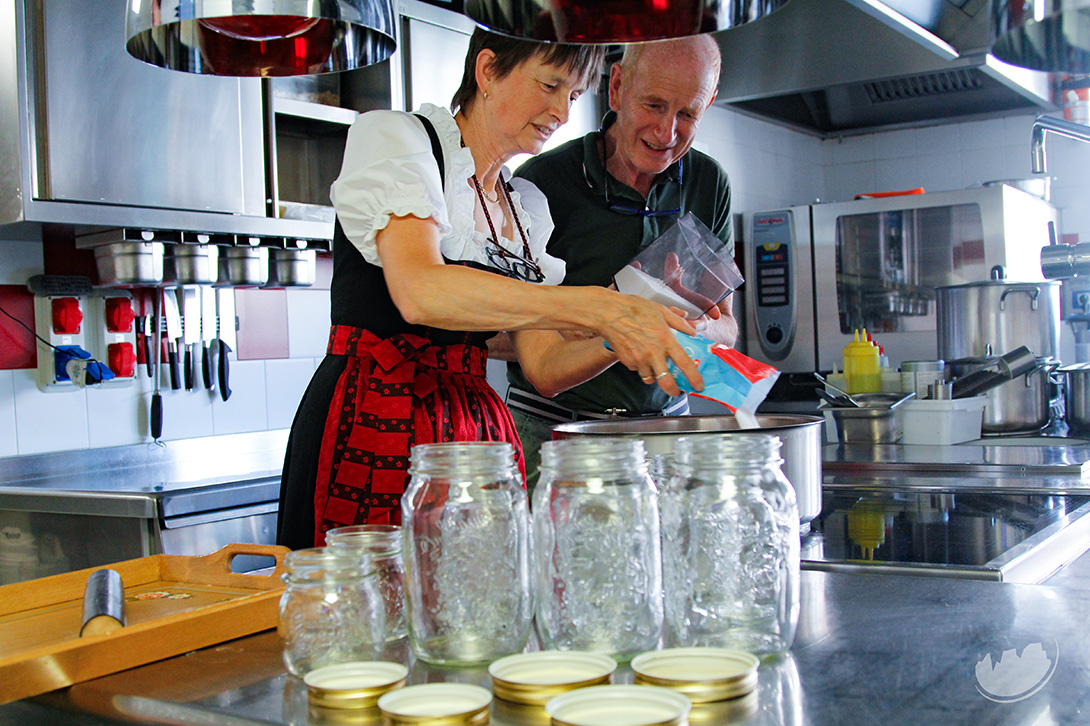
- 1 kilo fruit
- 0.6 kilo regular granulated sugar
- 1 spoon honey
Additional Items:
- Large saucepan with heavy base
- Sterilized jam jars
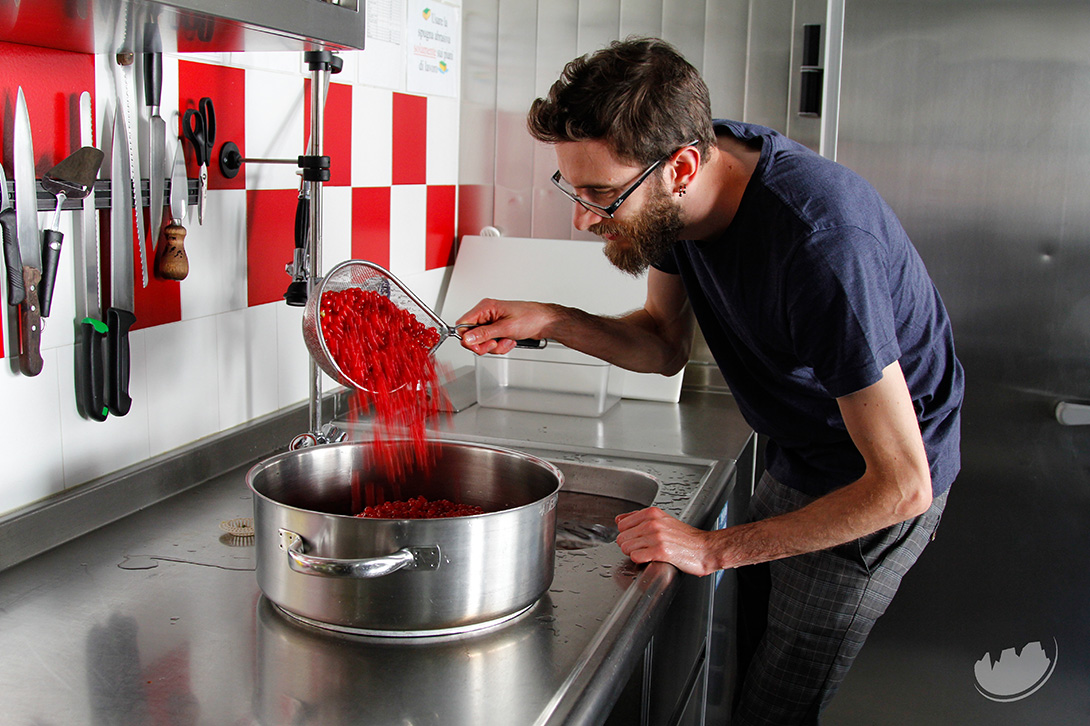
- Colander or sieve
- Large funnel (not essential)
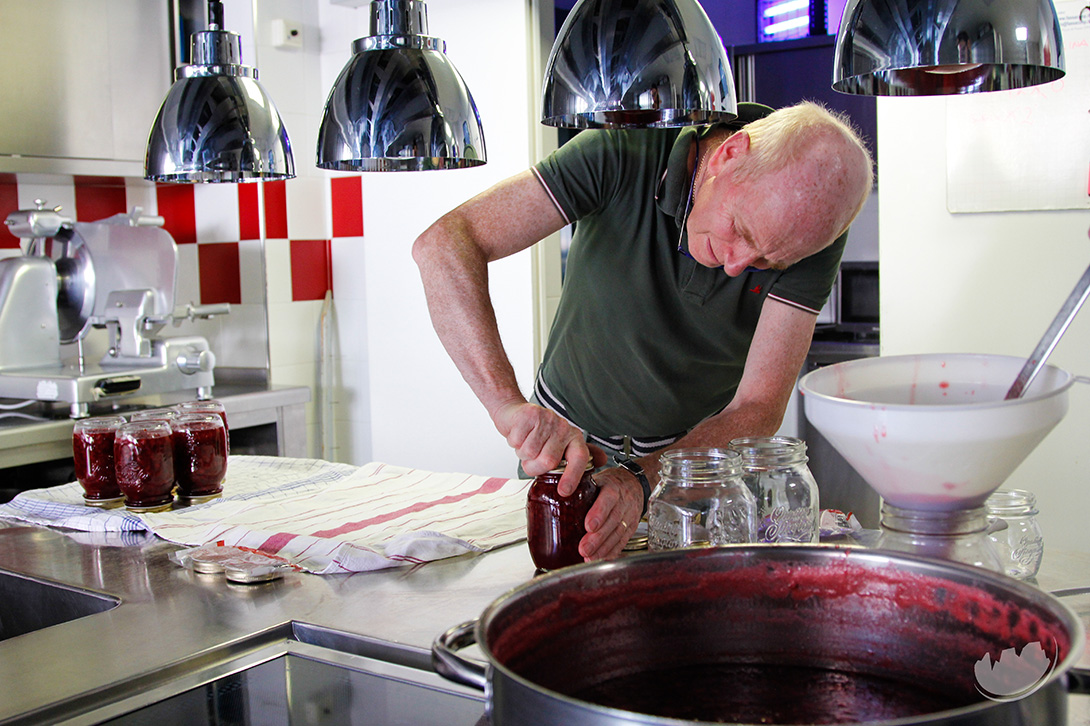
1- Clean the berries from the vines, wash thoroughly in a full sink of water, scoop them up and strain them out using a sieve.
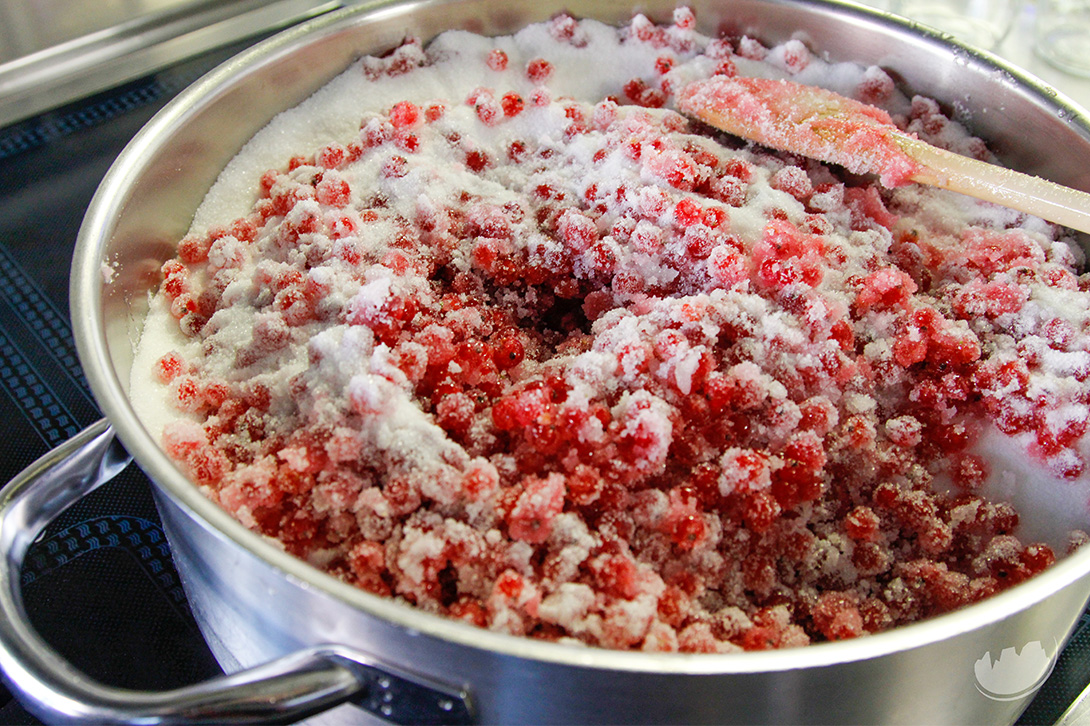
2- Place your pan on the hob on a medium heat, add berries and sugar (ratio 1: 0.6).
3- Once the sugar has dissolved, stir occasionally while keeping an eye on the bottom of the pan to prevent burning and to ensure that the surface foam does not overflow. It is recommended to skim off the top layer of foam for a clearer brighter jam, but this step is optional.
4- After about 15mins of boiling, the berries should have broken up naturally. At this point stir in the honey.
5- Wait a further 5-10 mins and you are ready to pot the jam, we like to use a large funnel for a more time efficient and cleaner pour.
To ensure that the jam has boiled enough, place a spoonful of jam on a cold plate (previously kept in the freezer). Pass a finger through the mixture, if it is firm to a jam like consistency it is ready to pot, otherwise keep it on the boil for a few more minutes.
6- Once the jars are filled and sealed turn them upside down and place them on a tea towel (in case of spillage).
7- Store in a cool dry place.
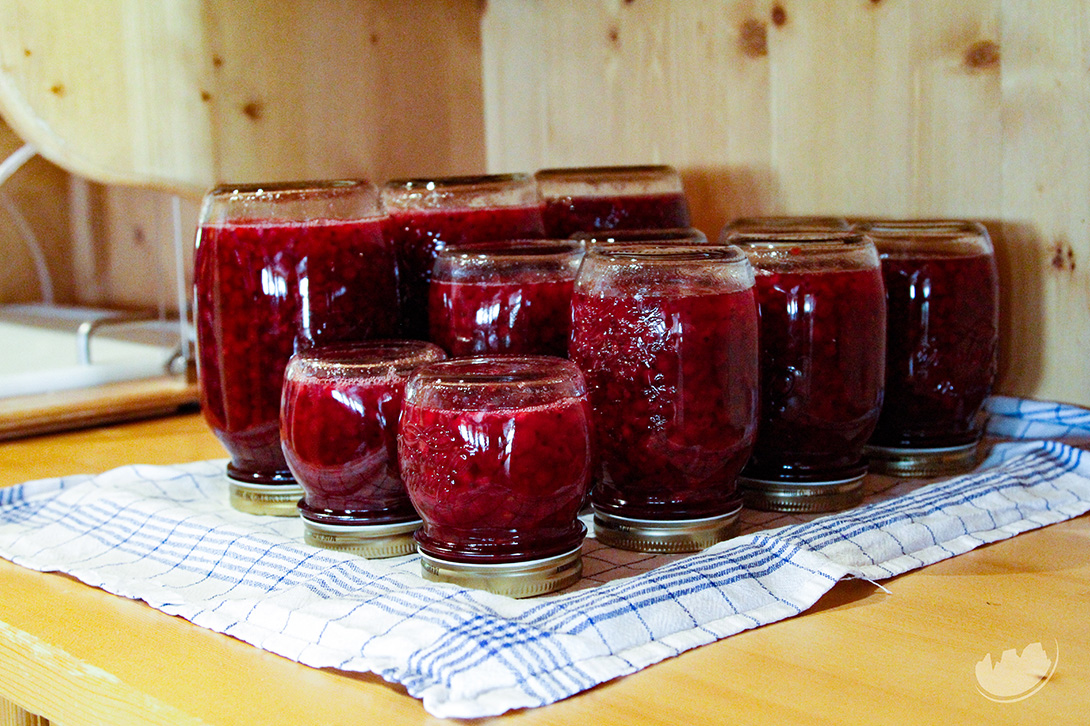
Enjoy!

